Recipe for vegan lip balm
 (a) Buy your supplies.
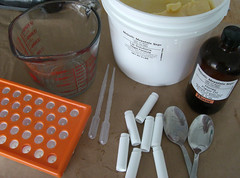
(b) Set up all the supplies you’ll need on a counter top covered in newsprint or craft paper. You’ll be glad you did this because lip balm can be hard to clean up if you make a mess. It’s recommended to work in the kitchen as close to the microwave as possible, since you’ll be using it a lot, if you’re following this method. Be sure you have all your supplies ready, including the containers you’ll be pouring into. Once the mixture is melted, you’ll need to work quickly, but steadily, so the mixture doesn’t harden before it has been poured.
(c) Put on your favorite apron/lab coat, if you feel so inclined.
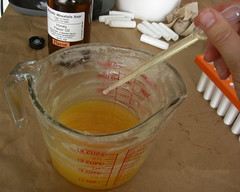
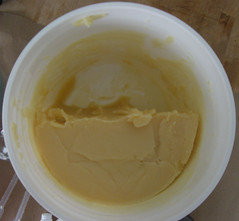 Scoop out your base into a glass measuring cup that has a spout.
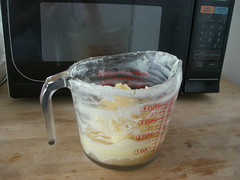
Step 3: Melting 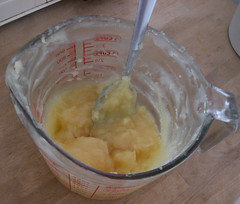
Melt the base in the microwave. Take out every 30-45 seconds and stir, so that the base is heated evenly.
Step 4: Flavoring
 After the base has melted completely and has cooled very slightly, use a pipette to drop in the appropriate amount of flavor or essential oils. Use a different pipette for each flavor/scent that you use, so as not to cross-contaminate. 2-4% is a good rule-of-thumb for flavor. Essential oils need less, about 0.3-1.5%. The oils you choose may recommend different proportions, so check before you get started. Stir just until mixed.
It is important that you add your flavor/essential oil after you melt the base. If you add the flavor before you melt the base, it will lose its potentcy in the heating process.
Step 5: Pouring
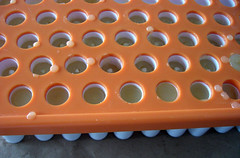
Using the very same measuring cup that you melted the base in, pour your mixed and melted concoction into your tubes or jars or what have you. That’s why the spout is so handy. If you’re using tubes, fill only to the top of the inside screw. Once the mixture has cooled, finish filling the tube. Pour almost all the way to the top, for that professional and rounded look. This process avoids the risk of cracking that can occur when filling the tube in one go. If you’re using jars or lids, just pour all the way to the top in one pour.
Don’t be discouraged if you make a mess when you first start pouring. After a few tries, you’ll be a pro. It’s all in the wrist.
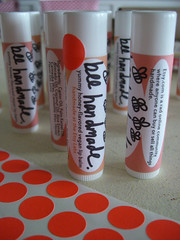
Step 6: Labeling
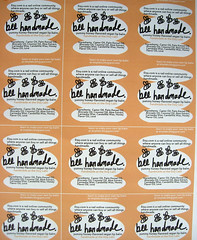 Make some sweet labels.
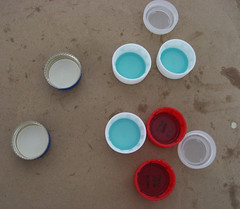
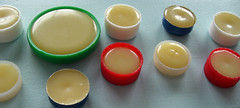
Below are some examples of recycled containers for lip balm.
About Sunny (Sunny's Profile)
Longtime vegan, hardcore compassionate beauty junkie, serious cake aficionado, and lover of all things floofy and sparkly! If there's something in particular you'd like me to review, drop me a line at Sunny@VeganBeautyReview.com. You can also find me on Facebook, Instagram, Twitter, YouTube, and Google +.Filed in: DIY vegan beauty products


