Skincare Routine – The Best Order
With an REDONK amount (i.e. BUNZillions) of beauty products on the market, it can be a bit overwhelming trying to figure out which product goes on when, in which oder, and how, etc. I’ma break it on down, tho. There may some slight variations to these steps based on who you talk to, but these a.m./p.m. skincare routines below have done me right for decades. 🙂
Morning:
Step 1: Cleanser
First off, I highly recommend using a microfiber washcloth when cleansing the face to effectively remove dirt, sweat, grime, microbes, and pollution from the skin’s surface. It also helps create a clean base for your beauty products to follow.
I switch up my cleansers depending on the season. In the warmer months, I prefer to use ones that are gel, foam, water-based, or just lighter in general. In colder months when my skin is parched, I’ll opt for cream or oil-based cleansers for extra hydration.
Favorites: Derma E Vitamin C Brightening Cleanser, $15.50 (for warmer months); Beauty Without Cruelty Herbal Cream Facial Cleanser, $13 (for cooler months)
Step 2: Toner
I’ve noticed a lot of people skip this step, but for me, it’s one of my favorites! It’s balancing and refreshing (especially on a hot day – pro tip: keep your toner in the fridge for the summertime) Facial toners help minimize the appearance of pores, temporarily tighten skin, and naturally remove oil and dirt. I have a lovely recipe for DIY rose toner on the blog that’s simple to make and suitable for all skin types. 🙂
Favorite (store bought): Derma e’s Hydrating Face Mist with Hyaluronic Acid, $13.50
Step 3: Serum
It’s so important to use a facial serum suited best for your skin’s needs. I personally love vitamin C serums which are loaded with antioxidants, are skin brightening, help target hyperpigmentation, and offer protection from sun damage and pollution. Hydrating serums with hyaluronic acid are wonderful, too! They help plump the skin and hold maximum hydration. Sometimes I like to double up and start with a hyaluronic acid serum, and then layer it with vitamin c goodness. Do make sure to let any product you put on your face fully absorb before adding anything else (← another pro tip)
Favorites: OSEA Hyaluronic Acid Sea Serum, $80; Derma e Vitamin C Concentrated Serum with Hyaluronic Acid, $15
Step 4: Eye Cream
If you’re concerned with dark circles, bags, or wrinkles, know there’s a perfect eye cream out there for you. Eye creams are usually humectants (attracting water to the skin), emollients (providing a protective barrier to trap moisture), or occlusive (preventing water loss). When it comes to eye creams and moisturizers, I like ’em thick, as thick as they come, and with all the peptides and vegan collagen! 🙂
Pro tip – The skin around your eyes is delicate, so it’s best to apply eye cream as gently as possible.
Favorite: Derma e Advanced Peptides and Collagen Eye Cream, $18
Step 5: Moisturizer
It’s important to find a moisturizer that’s not only suited for your skin type (oily, acne-prone, dry, mature, etc.), but also suited for the season, as our skin is vastly different throughout the year. I recommend using a rich, thick option in the cold, dry months and a lighter option (and perhaps a smaller amount) in warm, humid weather. Moisturizers are super luxe these days with peptide complexes, cell-rejuvenating collagen, amino acids–you name it–so have fun discovering which formulas best tickle your fancy.
In the end tho, moisturizers are designed to help hydrate and plump the skin, fend off wrinkles, and lock in all of the ingredients from all the above steps to make them more effective.
Favorite: Osea Advanced Protection Cream, $108; Derma e E Vitamin C Intense Night Cream, $16 (affordable go-to)
Step 6: Sunscreen
SPF is the most important thing you can do for your skin, and not just in the summer months but year-round. Sunscreen can help protect against skin cancer as well as help keep wrinkles and hyperpigmentation at bay.
Favorite: Bliss Block Star Mineral SPF 30, $20 – it’s weightless, blends effortlessly, and is truly invisible (no white cast)
Night:
Step 1: Cleanser
I’d like to insert a quick 0.5 step, because on makeup days, using a makeup removal wipe is a great way to kick off an evening skincare routine. Sometimes I’ll also get a reusable cotton round and soak it with jojoba oil or dip it in a cleansing balm to wipe off my makeup before cleansing. Once the makeup is off, use a cleanser that meets your skincare needs – ex. gentle, exfoliating, hydrating, etc.
Favorite: Derma e Universal Cleansing Balm, $14; Derma E Vitamin C Brightening Cleanser, $15.50
Step 2: Toner
Toner should be the first thing to go on your freshly cleansed skin, just like in your morning routine. It’ll help balance your skin’s pH level and help your other skincare perform best. Go for the same toner you use in the AM or try something a little more exfoliating.
Favorite: Pixi Glow Tonic, $15
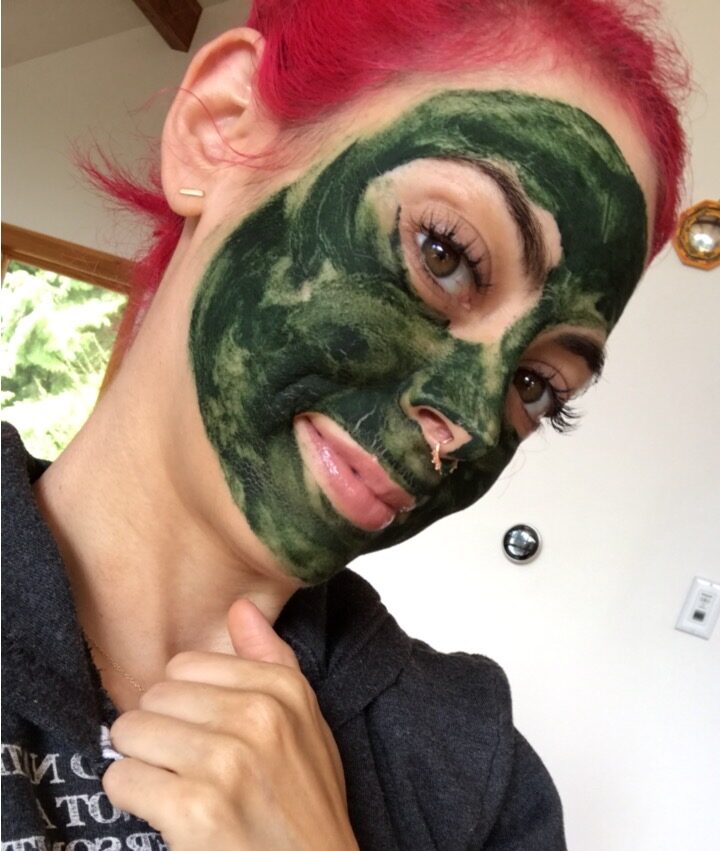
Step 3: Exfoliator/Face Mask
After cleansing and toning is the perfect time to do a little exfoliation. I like to slough off dead skin cells and facial gunk 2ish times a week, skipping a couple days in between. This is also a prime time for applying sheet masks, clay masks, etc. You can apply these daily to weekly depending on the product.
Favorite exfoliator: Derma e microdermabrasion scrub, $25
Favorite mask: My DIY rose clay mask (anti-aging and easy peasy to make)
Step 4: Spot Treatment
Don’t save this step for last (as some people do), because the potency of your spot treatment may get diluted and lose its efficacy. After I apply spot treatment, I like to give those areas a lil’ space so creams or moisturizers don’t get into the mix.
Favorite: Derma e Sulfur Spot Treatment, $14 – this stuff is MAGIC! Seriously, can we talk about it!?
Step 5: Retinol/Serum
Retinol is chock full of super powers – it has the ability to treat acne, fade dark spots and hyperpigmentation, brighten skin, and fight signs of aging. Retinol will make also your skin more sensitive to the sun, so definitely apply sunscreen the following morning (which you should be doing anyway 😉 )
Favorite: Bliss Youth Got This Prevent-4™ + Pure Retinol Advanced Skin Smoothing Serum, $28
Step 6: Eye Cream & Moisturizer
As to not dilute the potency of my retinol serum, I like to use a retinol moisturizer, too! If you’re skipping the retinol ↑ and opting for something like hyaluronic acid instead, I’d still match your moisturizer to your serum to give it some extra oomph.
Favorite: Bliss Youth Got This™ Prevent-4™ + Pure Retinol Deep Hydration Moisturizer, $25
TLDR: Match your skincare products to your skin type and time of year. Wait for each product to fully absorb before applying the next. Vitamin C serums during the day, retinols at night. Never skip sunscreen. And you’re gorrrrrrgeous, dahling!! xoxo
Post contains affiliate links.
About Sunny (Sunny's Profile)
Longtime vegan, hardcore compassionate beauty junkie, serious cake aficionado, and lover of all things floofy and sparkly! If there's something in particular you'd like me to review, drop me a line at Sunny@VeganBeautyReview.com. You can also find me on Facebook, Instagram, Twitter, YouTube, and Google +.Filed in: vegan skin care


