Luxuriate in Vegan Goodness: DIY Lotion Bar Recipe for Silky Soft Skin
Welcome, fellow smooth operators! Today, we’re diving headfirst into the world of vegan beauty with a recipe that will leave you feeling like a silky-skinned superhero. Get ready to channel your inner chemist and create your very own DIY vegan lotion bars. Not only will you save the planet, but you’ll also save your skin from those sneaky dry patches. So, put on a quirky apron, and let’s get mixing!
Ingredients
- 3 Tbsp of shea butter (the MVP of moisture)
- 3 Tbsp cocoa butter (the chocolatey goodness for your skin)
- 5 Tbsp coconut oil (bringing tropical vibes to your lotion party)
- 3 Tbsp of candelilla wax (the secret agent that holds it all together)
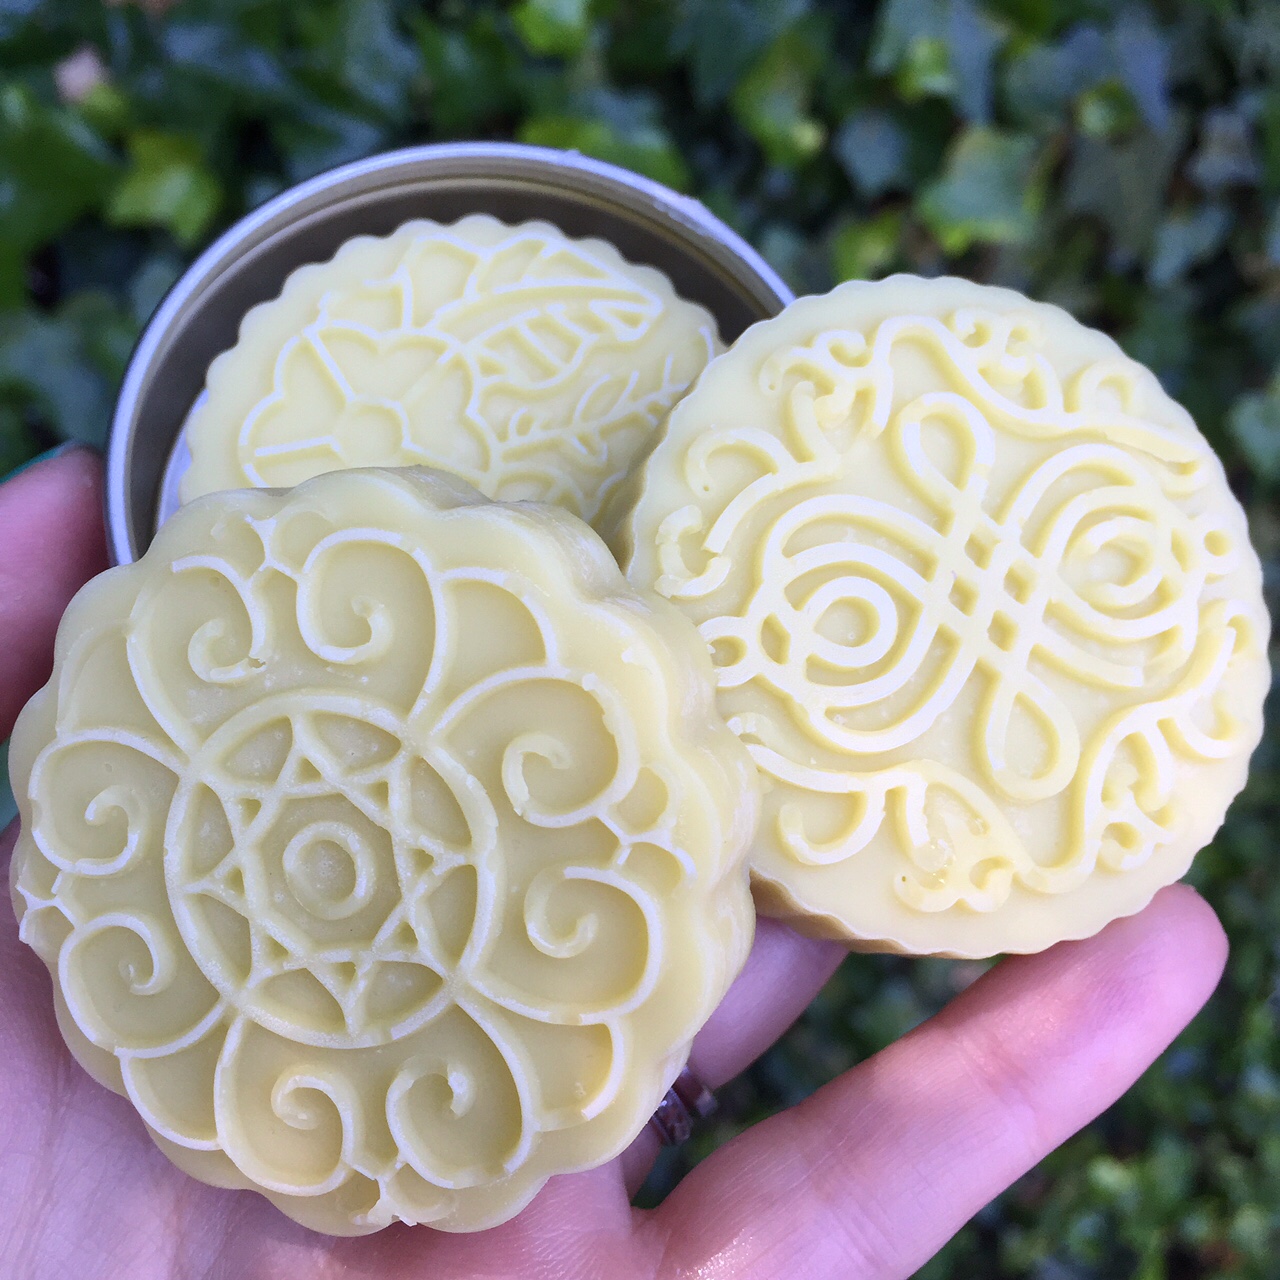
- Silicon mold of choice (you can use cupcake liners, too)
- Optional: a dash of essential oil for a fragrant twist (choose your favorite aroma, but avoid bacon-scented oil)
Instructions
- Assemble your lotion bar squad (a.k.a. your ingredients) and gather them in your DIY laboratory. Cue the suspenseful music!
- Using a double boiler or a microwave-safe bowl, melt the shea butter, cocoa butter, coconut oil, and candelilla wax together. Remember, we’re going for liquid gold here, so heat it up until everything is smooth and melted. Be cautious not to create a potion that’s too hot to handle.
- Take a moment to appreciate the mesmerizing sight of swirling, melted goodness. It’s like a mesmerizing lava lamp for your senses. Give it a little stir and watch the magic unfold.
- Optional dance break! It’s essential to groove to your favorite tunes while you prepare your lotion bars. After all, creating beauty potions should be a joyful experience.
- If you’re feeling fancy, add a few drops of your chosen essential oil to infuse your lotion bars with an enticing scent. Imagine smelling like a serene lavender field or a fresh citrus grove. Ahh, the possibilities are endless!
- Now, carefully pour your molten creation into silicone molds. Unleash your artistic side and experiment with different shapes and sizes. Who said lotion bars can’t be Instagram-worthy?
- Patience, young grasshopper! Allow your lotion bars to cool and solidify either at room temperature or expedite the process by popping them in the refrigerator. Think of it as a beauty time capsule waiting to be unleashed.
- Once your lotion bars have hardened into formidable skincare warriors, remove them from their molds and ta-da! Your very own handmade vegan lotion bars are now ready to conquer dry skin!
Congratulations, you’ve officially become a vegan lotion bar wizard! Now, behold your creations and imagine the silky embrace that awaits your skin. These homemade gems are perfect for on-the-go moisture, no plastic bottles required! Use them to vanquish dry elbows, tame unruly cuticles, or simply enjoy the luxurious feeling of nourished skin.
Post contains affiliate links.
About Avi (Avi's Profile)
Filed in: DIY vegan beauty products


